Summary
- Use iCloud for fast backup: Simple set-up and restore from old iPhone’s iCloud backup. The process takes about 15 minutes.
- Use Mac or PC: Create encrypted backup for all data preservation. More steps are involved, but this is preferred for staying signed into apps.
- Apple Direct Transfer: Back up directly from old iPhone to new. This is a slow option, but there’s no need for a recent iCloud backup. Transfers depend on media.
With the holiday season upon us, you might receive a new iPhone as we close the year out. Whether you get the brand-new iPhone 16 or are upgrading to an older model, you’ll probably want to move all your photos, contacts, and texts to your new iPhone. Fortunately, Apple makes it easy to transfer and back up your files from an old iPhone, and you can do it in multiple ways.
There are several ways to do this, and some are easier than others. Transferring files to a new iPhone can be a stress-free experience, or it can be a time-consuming affair. I’ll break down the four methods I’ve used for my near-yearly iPhone upgrade over the past few years.
Restore your files from iCloud
A sometimes fast solution
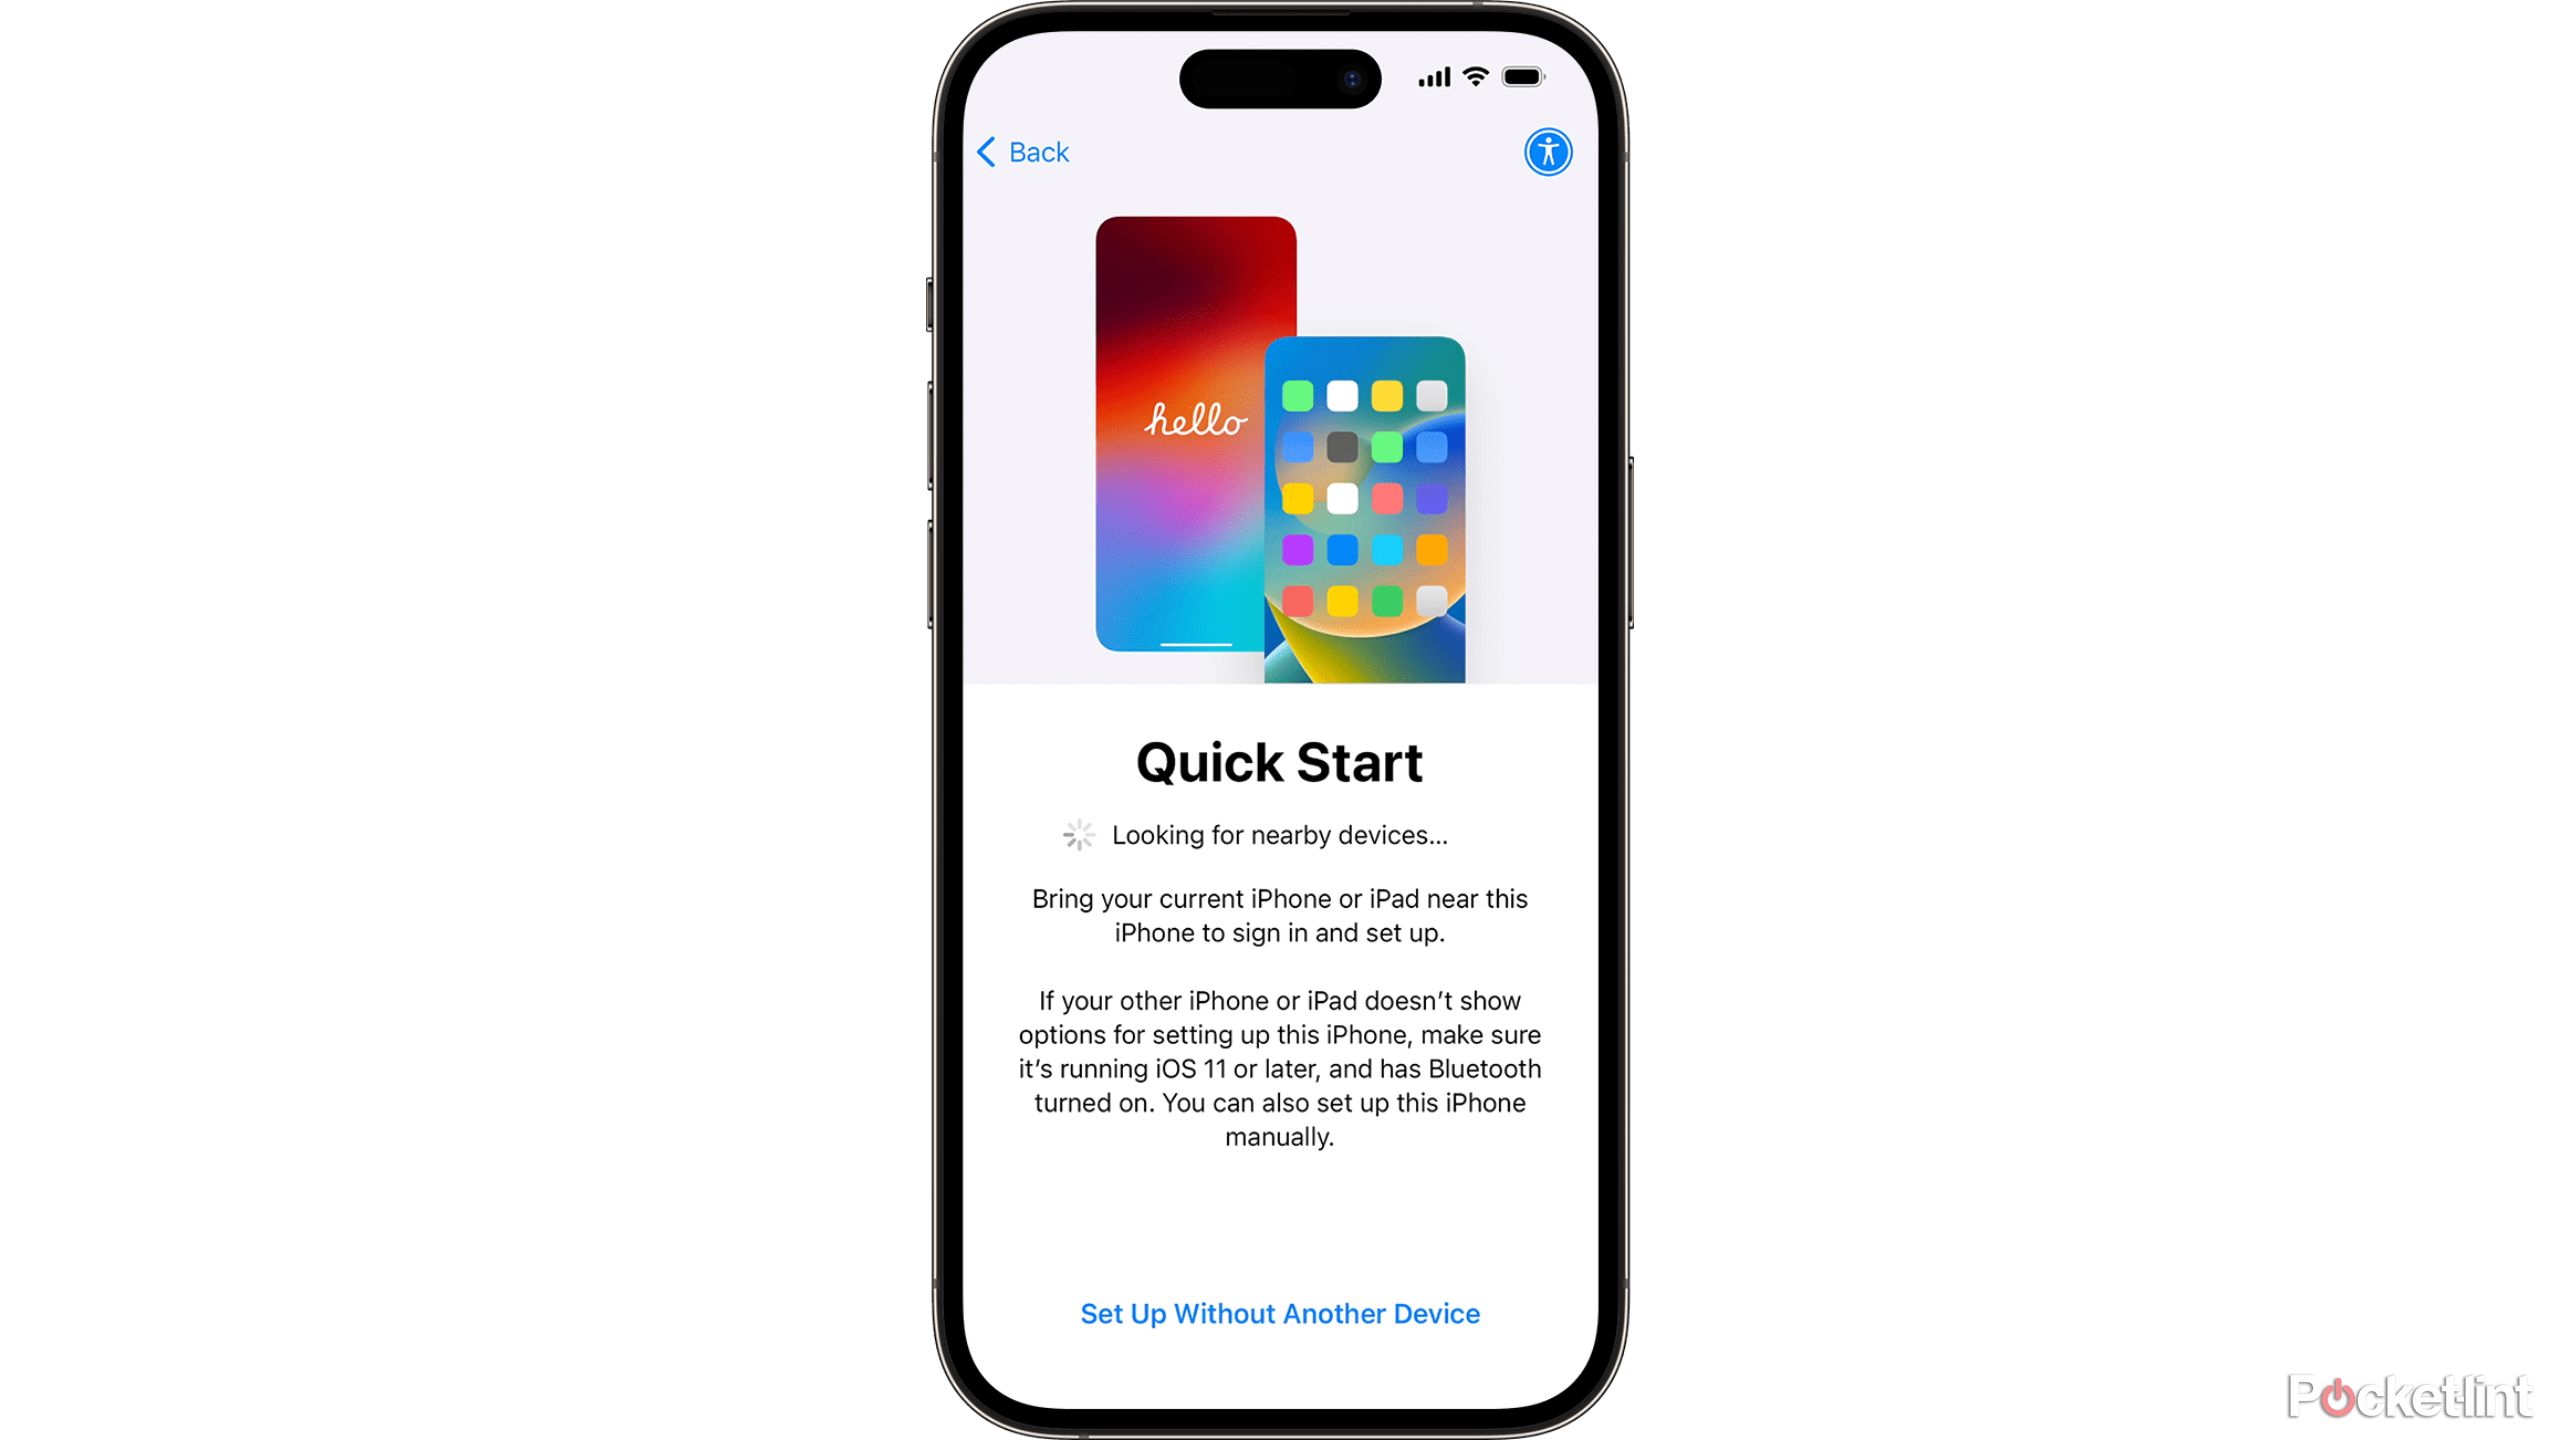
When setting up your new iPhone, you’ll be asked if you prefer to directly transfer apps and other information from your old iPhone using the Quick Start tool. It’s the easiest and sometimes quickest way to set up a new iPhone. The Quick Start tool sets up your new iPhone using your account’s most recent iCloud backup.
As you navigate through the startup on your new iPhone, you should see a button labeled Restore from iCloud Backup. Tap this, and you’ll have to sign in to your Apple Account and pick a backup from your old iPhone. If you don’t see any recent backups, don’t panic. You can take a few extra minutes and create a new iCloud Backup from your old iPhone to backup to your new iPhone. Here’s what you should do if this applies to you:
- Open the Settings app on your old iPhone.
- Search for iCloud Backup.
- Tap Back Up Now to update your iCloud backup.
The screen on your old iPhone should show a progress bar, indicating that the transfer is taking place. Once this process is complete, you’ll want to be on your new iPhone to select the backup you just created. Your new iPhone will now restore all of your settings and preferences. This process usually takes about 15 minutes, depending on your internet speed. Your new iPhone is now usable, but your apps will download in the background.
Use a Mac or PC
A more complicated solution, but with the best benefits
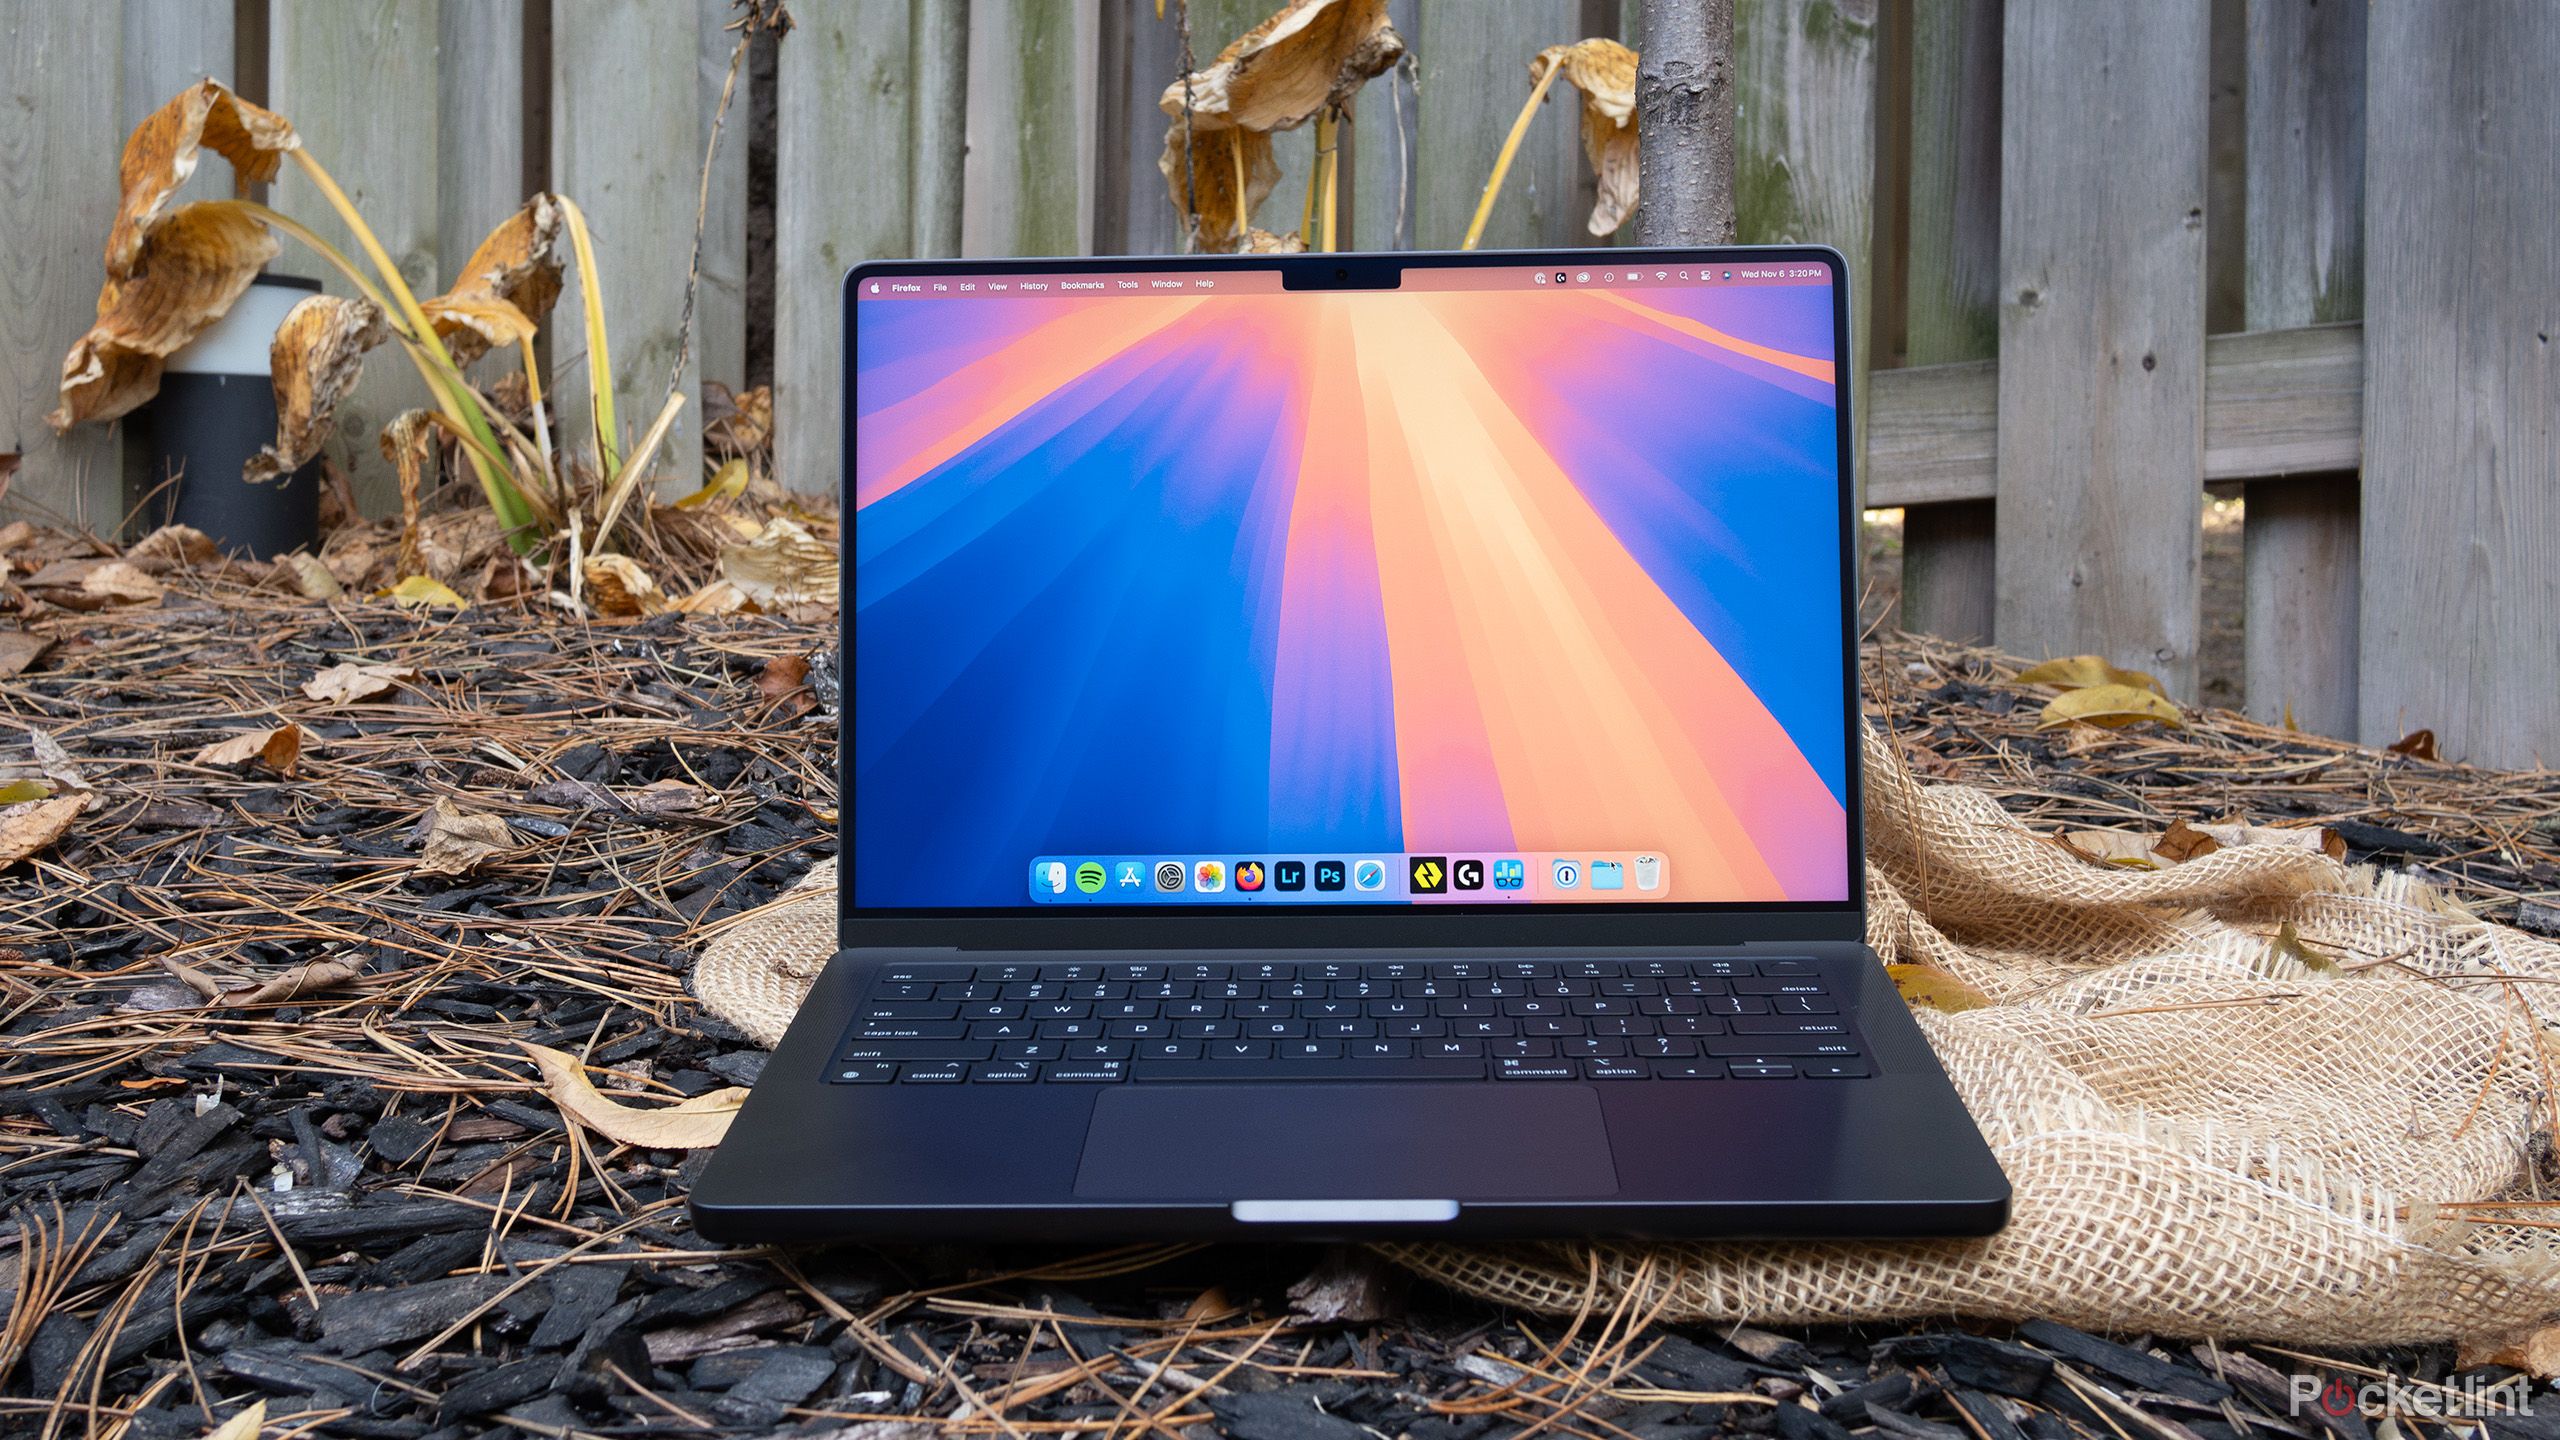
I’ve used a Mac to restore a backup onto a new iPhone most often, and it’s my preferred method because it allows you to stay signed in to all of your apps. However, transferring your old iPhone to a new iPhone with a Mac (or PC) takes a little bit more work than doing a cloud transfer. To do this, you’ll need to create an encrypted backup of your old iPhone. If you’re using a Mac, this is easy and quick. Here’s how to transfer an old iPhone to a new iPhone using a Mac:
- Plug your iPhone into your Mac
- In the Finder sidebar on your Mac, select your iPhone.
- At the top of the Finder, click the button labeled General.
- Tap Back up all of the data on your iPhone to this Mac.
- You’ll need to encrypt your backup. You can do this by selecting Encrypt local backup and entering your password.
- Tap Back Up Now.
If you’re using a Windows PC, the steps to follow are a bit different. Here’s what you’ll need to transfer an old iPhone backup to your new iPhone using a PC:
- Connect your iPhone to your computer.
- Open the iTunes app on your PC.
- Within the iTunes app, click summary.
- Click Back Up Now
- To make sure your backup is encrypted, click encrypt local backup, enter a password, and click set password.
Apple Direct Transfer
Transfer directly from iPhone to iPhone with either a cable or wirelessly
If you don’t have a recent iCloud backup and aren’t able to make a new one, or you have a spotty internet connection, the good news is that you can transfer everything from your old iPhone to your new iPhone either wirelessly with Bluetooth or with a cable. All you need to do is select the Direct Transfer option when setting up your new iPhone. You’ll want to make sure that both your iPhones are fully charged, there’s a strong Wi-Fi connection (if not using cables), and that you have time set aside. This is the slowest option for backing up an old iPhone, and I recommend having at least an hour or two when you won’t need to use either phone.
Transferring a phone this way and how long it will take depends on how many items are being moved. If you have an extensive photo and texts library, this process will take longer. When the direct transfer process has started, you’re shown a time estimate, and in my experience, the estimate is correct more often than not.
Trending Products

15.6” Laptop computer 12GB DDR4 512GB SSD, Quad-Core Intel Celeron N5095 Processors, Home windows 11 1080P IPS FHD Show Laptop computer Laptop,Numeric Keypad USB 3.0, Bluetooth 4.2, 2.4/5G WiFi

Wireless Keyboard and Mouse Combo, EDJO 2.4G Full-Sized Ergonomic Computer Keyboard with Wrist Rest and 3 Level DPI Adjustable Wireless Mouse for Windows, Mac OS Desktop/Laptop/PC (Black)

Logitech Signature MK650 Combo for Business, Wireless Mouse and Keyboard, Logi Bolt, Bluetooth, SmartWheel, Globally Certified, Windows/Mac/Chrome/Linux – Graphite

ASUS VA24DQ 23.8â Monitor, 1080P Full HD, 75Hz, IPS, Adaptive-Sync/FreeSync, Eye Care, HDMI DisplayPort VGA, Frameless, VESA Wall Mountable ,BLACK

TP-Link AXE5400 Tri-Band WiFi 6E Router (Archer AXE75)- Gigabit Wireless Internet Router, ax Router for Gaming, VPN Router, OneMesh, WPA3

GAMDIAS White RGB Gaming ATX Mid Tower Computer PC Case with Side Tempered Glass and Excellent Airflow Design & 3 Built-in 120mm ARGB Fans

Wi-fi Keyboard and Mouse Combo, MARVO 2.4G Ergonomic Wi-fi Pc Keyboard with Telephone Pill Holder, Silent Mouse with 6 Button, Appropriate with MacBook, Home windows (Black)

Thermaltake View 200 TG ARGB Motherboard Sync ATX Tempered Glass Mid Tower Pc Case with 3x120mm Entrance ARGB Fan, CA-1X3-00M1WN-00


